
Even heat distribution and a good firm pressure heat press is very important for good adhesion, avoid any zipper / pockets / seams / buttons / etc. within the press area.
Iron on DTF Transfer Pressing Instructions Make sure to Apply Pressure
Here's what you need to get started:
-

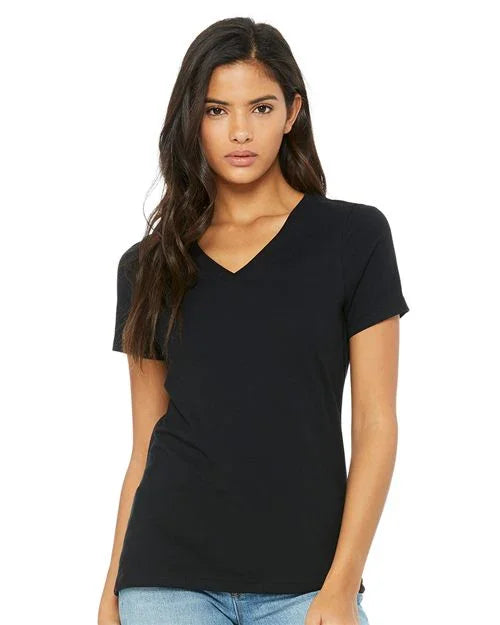
ANY GARMENT
-

DTF TRANSFER
-

HOME IRON
How to press DTF Transfers using Home Iron?
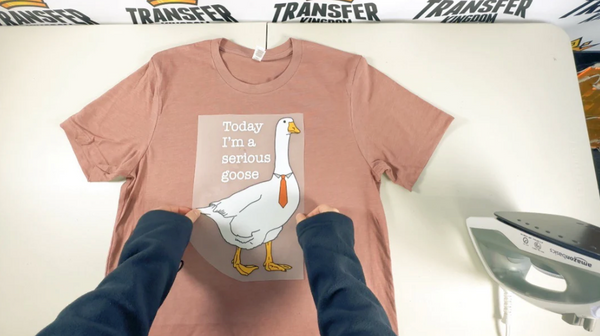
Place It
Place the iron on DTF transfer on the desired area and cover it with parchment paper or kraft paper.
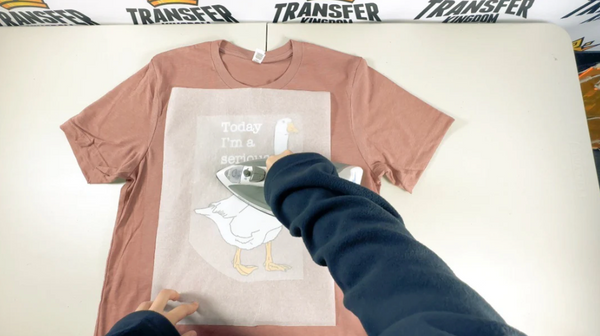
Pressing
STEP 1
(Iron the blank garment 5 seconds if has creases)
Iron the Garment
Apply one of these settings to suit your garment type if the iron heat settings is adjustable.
🚨 Be sure to use sufficient pressure for best results! 🚨
Temperature / Time Settings:
- Cotton: 325F / 20 seconds
- 50/50: 300F / 15 seconds
- Tri-Blend: 275F / 15 seconds
- Poly: 275F / 10 seconds
- Hats (poly): 250F / 8-10 seconds
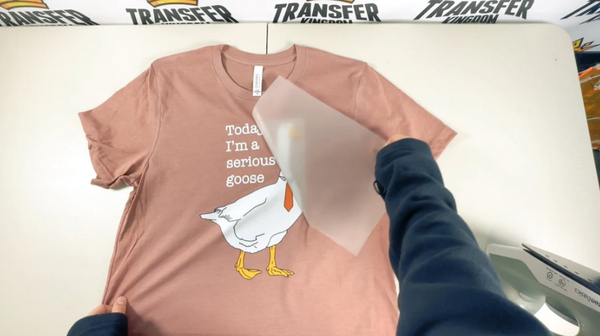
Peel It
STEP 2
After a cooling period, carefully peel off the film, ensuring that it effortlessly releases the printed image.
In case the printed image fails to adhere to the garment, apply heat pressure and cool once more.

2nd Press
STEP 3
Cover the transferred image with parchment paper, kraft paper, or a Teflon cover sheet and heat press it again for 15 seconds.
Tip: Teflon (for shiny look) or parchment paper / kraft paper (for matte look)
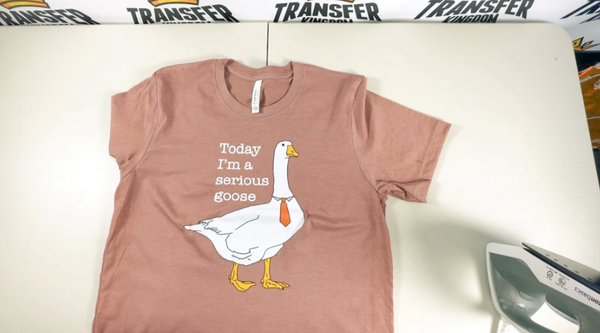
Your Custom Shirt or garment is ready!
Note
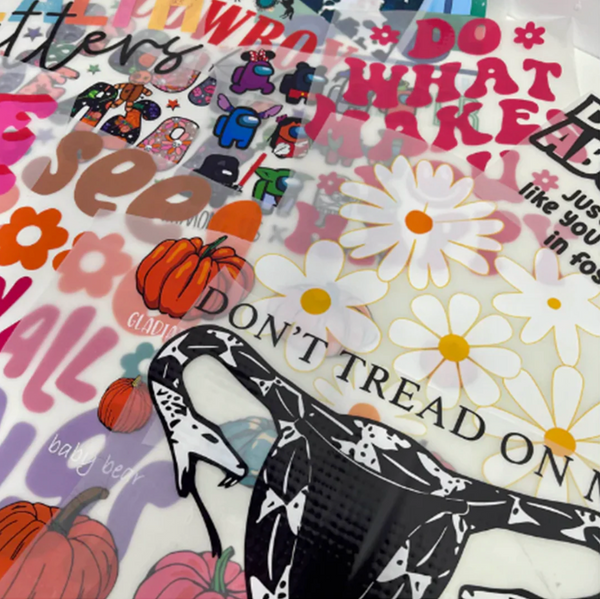
First Time?
Try Our Free Sample Transfers
Instructions above are general guidelines. Every heat press varies in terms of Quality, temperature and pressure.
If this is your first time ordering with us, we recommend Purchasing our Sample Package with your order so that you can determine Best temperature, time and pressure for your Transfers…