Common DTF Application Mistakes and How to Avoid Them
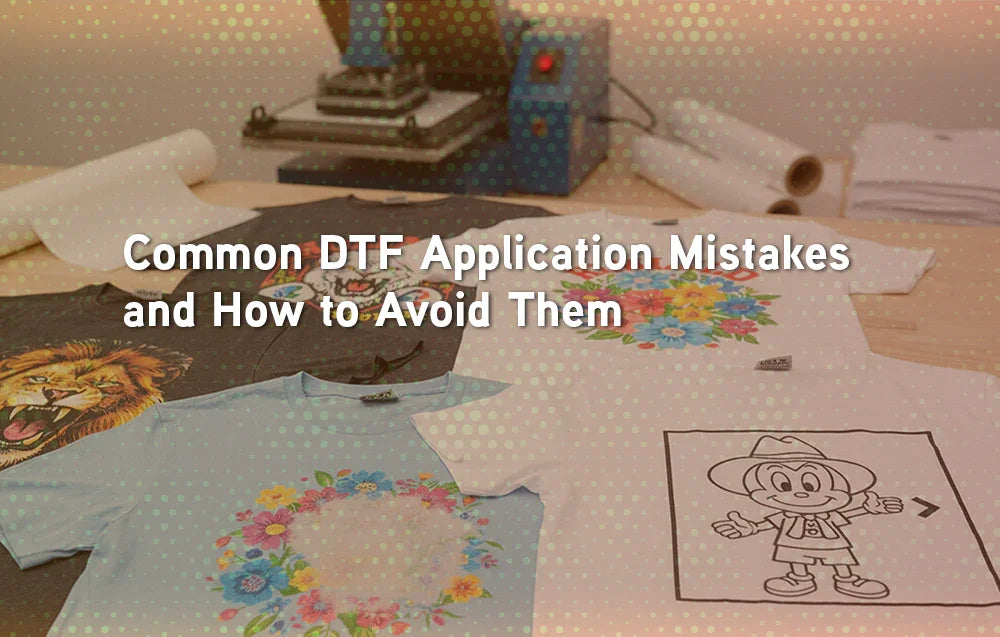
Even the best DTF transfer design can fail if applied incorrectly. Beginners often make the same mistakes—using the wrong temperature, skipping pre-press, or peeling too soon—which leads to poor adhesion and short-lived prints. In this guide, we’ll cover the most common DTF application mistakes and show you how to avoid them so your prints look sharp, vibrant, and professional every time.
A Quick Story: The First Print Fail
Imagine this: you just ordered your first Custom DTF Transfers, lined up your design perfectly, pressed it onto a shirt, and peeled the film. At first glance, it looks fine. But after the first wash, edges start peeling, colors fade, and the shirt looks worn out.
This isn’t a design issue—it’s an application error. The good news? These mistakes are easy to fix once you know what to look out for.
Mistake 1: Skipping the Pre-Press
The Problem
Moisture and wrinkles create barriers that prevent proper adhesion.
The Fix
Pre-press for 3–5 seconds before applying the transfer.
Use a lint roller to remove fibers and dust.
📌 Quick Recap: Pre-pressing = fewer bubbles, stronger adhesion.
Mistake 2: Using Wrong Heat Press Settings
The Problem
Too hot = scorched polyester or faded colors.
Too cold = transfer won’t stick.
The Fix
Follow fabric-specific guidelines:
| Fabric Type | Temp (°F) | Time (sec) | Pressure |
|---|---|---|---|
| Cotton | 310–320 | 12–15 | Medium-Firm |
| Polyester | 280–300 | 8–12 | Medium |
| Blends | 300 | 10–12 | Medium |
| Fleece/Hoodies | 300–310 | 12–15 | Firm |
| Nylon | 280–290 | 8–10 | Light-Med |
👉 Need a quick reference? Save our DTF Transfer Heat Press Settings Guide.
Mistake 3: Rushing the Peel
The Problem
The Fix
Hot Peel: Peel immediately.
Warm Peel: Wait 5–10 seconds.
Cold Peel: Let it fully cool before peeling.
💡 Pro Tip: If any part doesn’t stick, re-cover with parchment paper and repress for 3–5 seconds.
Mistake 4: Forgetting the Post-Press
The Problem
The Fix
Cover with parchment or Teflon sheet.
Press again for 2–5 seconds.
Locks in color and boosts durability.
👉 This step is especially important for Custom Gang Sheet Transfers, where multiple designs share one press.
Mistake 5: Poor Image Quality
The Problem
The Fix
Always design at 300 DPI.
Use transparent backgrounds (PNG) to avoid white boxes.
Test with online mockups before uploading.
📌 Quick Recap: Garbage in = garbage out.
Mistake 6: Ignoring Fabric Differences
The Problem
The Fix
Cotton: high heat, firm pressure.
Polyester: lower heat, shorter time.
Nylon: low heat, light pressure.
👉 For tricky fabrics, test first with Premade Gang Sheets.
Mistake 7: Neglecting Storage & Handling
The Problem
The Fix
Store flat, cool, and dry.
Avoid sunlight or extreme heat.
Keep sheets dust-free until use.
Specialty Transfers: Extra Mistakes to Avoid
Glitter DTF → Needs slightly higher temp (315–325°F). Don’t use standard settings. → Glitter Transfers
UV DTF Cup Wrap Stickers → Need even pressure; rushing peel causes misalignment. → UV DTF Stickers
Puff DTF → Under-pressing keeps puff flat instead of raised.
💡 Always read supplier notes—specialty finishes have special needs.
Case Study: Houston Apparel Brand
A Houston streetwear brand ordered 500 transfers for polyester jerseys. At first, they applied cotton settings (320°F, 15 seconds, firm pressure). The result? Scorched fabric and lifted prints.
After adjusting to polyester-friendly settings (290°F, 10 seconds, medium pressure), every jersey came out vibrant and durable.
📌 Lesson: Following fabric-specific guidelines saved the entire project.
Conclusion
Most DTF application mistakes come down to rushing the process or skipping steps. Pre-pressing, dialing in the right heat settings, peeling at the correct time, and post-pressing make the difference between an amateur shirt and a professional one.
By avoiding these common mistakes, your transfers won’t just look good—they’ll last. Whether you’re applying a single Halloween design or scaling with Gang Sheet Uploads, mastering the process ensures customer satisfaction every time.
👇 Ready to level up?
Why do my DTF transfers peel after washing?
Likely low pressure or skipped post-press.
Why are my prints blurry?
Low-resolution files or bad artwork setup.
Can I use the same settings for all fabrics?
No—cotton, polyester, and nylon require different temps.
Why does my polyester look shiny?
Too much heat scorches polyester. Lower the temp.
Do I need a lint roller?
Yes, fibers can stop transfers from sticking.
What’s the best DPI for DTF prints?
Always 300 DPI.
Can humidity ruin transfers?
Yes, store in a dry, flat, cool place.
Do I really need post-press?
Yes—it seals the edges for long-term durability.
Are specialty transfers harder to apply?
They just need small adjustments.
Where can I order pro-quality transfers?
At Transfer Kingdom: DTF Transfers Ready-to-Press.


Furkan YILMAZ
I’ve been an editor at Transfer Kingdom for the past two years, writing about custom apparel, DTF transfers, and design trends. I enjoy sharing what I’ve learned to help creators turn their ideas into real, wearable designs.