How to improve DTF printing quality?
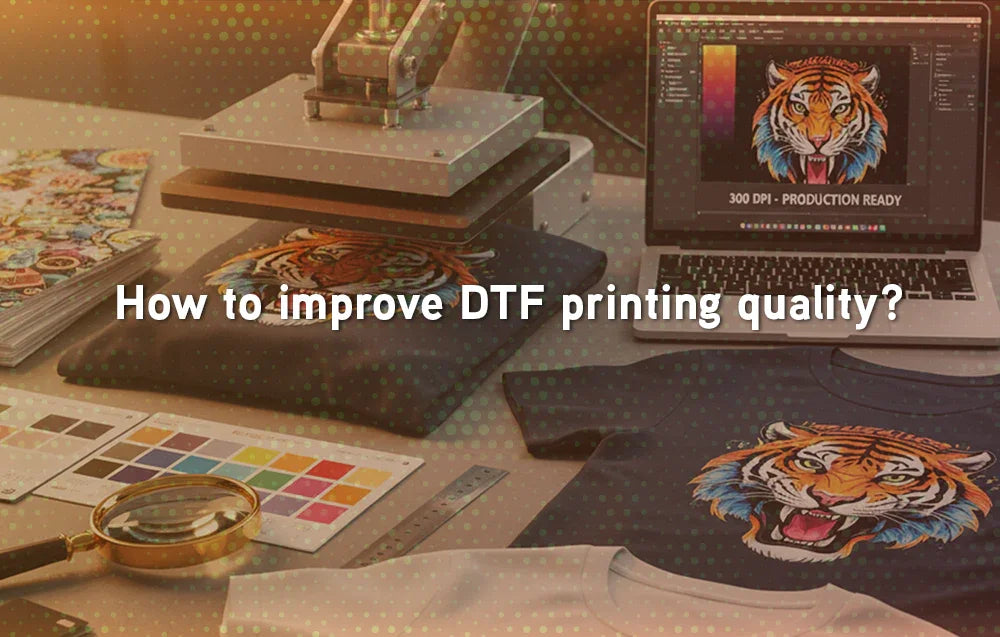
DTF printing already offers unmatched flexibility with unlimited colors and fabric compatibility. But if your prints look dull, peel too soon, or lose detail, there’s room for improvement. This guide explains how to improve DTF printing quality through better file preparation, proper heat press techniques, and smart aftercare—so every shirt looks professional and lasts.
A Story Every Beginner Knows
You’ve just uploaded a design to the Gang Sheet Uploader, pressed it onto a fresh t-shirt, and peeled back the film. The result? The colors look faded, details are lost, and corners lift.
👉 The issue isn’t DTF technology—it’s the process. With a few adjustments, your prints can rival professional apparel brands.
Step 1: Start with High-Quality Artwork
Poor input = poor output.
Design at 300 DPI resolution.
Use transparent PNGs for clean edges.
Avoid stretched or pixelated images.
Test mockups before uploading.
📌 Quick Recap: Better artwork = sharper, cleaner prints.
👉 Upload with confidence using Custom DTF Transfers by Size.

Step 2: Optimize Heat Press Settings
Even perfect artwork fails if pressed wrong.
| Fabric Type | Temp (°F) | Time (sec) | Pressure | Notes |
|---|---|---|---|---|
| Cotton | 310–320 | 12–15 | Medium-Firm | Best vibrancy & adhesion |
| Polyester | 280–300 | 8–12 | Medium | Avoid scorch & dye migration |
| Blends | 300 | 10–12 | Medium | Balanced settings |
| Fleece/Hoodies | 300–310 | 12–15 | Firm | Test to avoid flattening |
| Nylon/Performance | 280–290 | 8–10 | Light-Med | Use heat press pillow |
💡 Pro Tip: Use a heat gun to double-check press surface temp—it may run hotter or colder than the display shows.
Step 3: Pre-Press and Post-Press Every Time
Pre-press (3–5 seconds): Removes wrinkles & moisture.
Post-press (2–5 seconds): Seals edges, improves wash life.
👉 This simple extra step can extend your DTF prints’ lifespan by 20+ washes.

Step 4: Choose the Right Film and Peel Method
Hot Peel Film → Glossy, peel immediately.
Cold Peel Film → Matte, wait until fully cool.
Warm Peel Film → Balanced option, peel after 5–10 seconds.
📌 Quick Recap: Wrong peel timing = lifted designs.
Step 5: Use Quality Blanks
Even the best transfer looks bad on low-grade shirts.
Choose 100% cotton for vibrancy.
Use poly blends for activewear.
Avoid thin or uneven fabrics.
👉 Shop reliable Blank Apparel to ensure consistent results.
Step 6: Care Instructions = Longer Life
Wash inside out, cold water.
No bleach or fabric softeners.
Air-dry or low tumble.
👉 For customers, include printed wash labels to keep prints lasting.
Specialty Transfers: Improving Quality
Glitter DTF → Needs higher temp (315–325°F). → Glitter Gang Sheet Builder.
UV DTF Stickers → Even pressure = sharp alignment → UV DTF Cup Wrap Stickers.
Puff DTF → Must press longer (15–20 sec) for full effect.
💡 Always test specialty transfers before bulk orders.
Pro Troubleshooting Tips
Always test one shirt before running 100.
Check for lint/dust—causes spots in the print.
Avoid pressing over seams or zippers.
Store transfers flat, dry, and away from sunlight.
Experiment with Premade Gang Sheets to refine technique.
Case Study: Houston Brand Upgrade
A Houston-based clothing brand complained that their prints looked dull and cracked after 10 washes. On review, they:
Used low-res JPGs.
Overheated polyester shirts.
Skipped the post-press step.
After switching to 300 DPI PNGs, pressing polyester at 290°F for 10 sec, and adding a 3-sec post-press, their shirts lasted 40+ washes without issues.
📌 Lesson: Quality is about consistency, not shortcuts.
Conclusion
Improving DTF printing quality doesn’t require expensive equipment—it’s about mastering the basics. From preparing high-resolution artwork to fine-tuning heat press settings and educating customers on care, small changes make a big difference.
With tools like the Gang Sheet Uploader and premium Custom DTF Transfers, you can take your printing to the next level and deliver apparel that looks sharp, vibrant, and lasts wash after wash.
👉 Don’t settle for average prints—apply these tips and watch your quality soar.
What’s the best resolution for DTF artwork?
300 DPI for sharp results.
Why do my prints look dull?
Usually low heat or poor file quality.
How can I stop peeling edges?
Increase pressure and always post-press.
Do I need special blanks?
Yes—quality blank apparel makes a difference.
What’s the ideal temp for cotton shirts?
310–320°F for 12–15 seconds.
Can polyester scorch?
Yes, press at 280–300°F.
Do specialty transfers need different settings?
Yes—glitter, UV, puff all require tweaks.
How do I make prints last longer?
Educate customers on wash care.
Can humidity damage transfers?
Yes—store flat in a cool, dry place.
Where can I buy high-quality DTF transfers?
At Transfer Kingdom: DTF Transfers Ready-to-Press.


Furkan YILMAZ
I’ve been an editor at Transfer Kingdom for the past two years, writing about custom apparel, DTF transfers, and design trends. I enjoy sharing what I’ve learned to help creators turn their ideas into real, wearable designs.