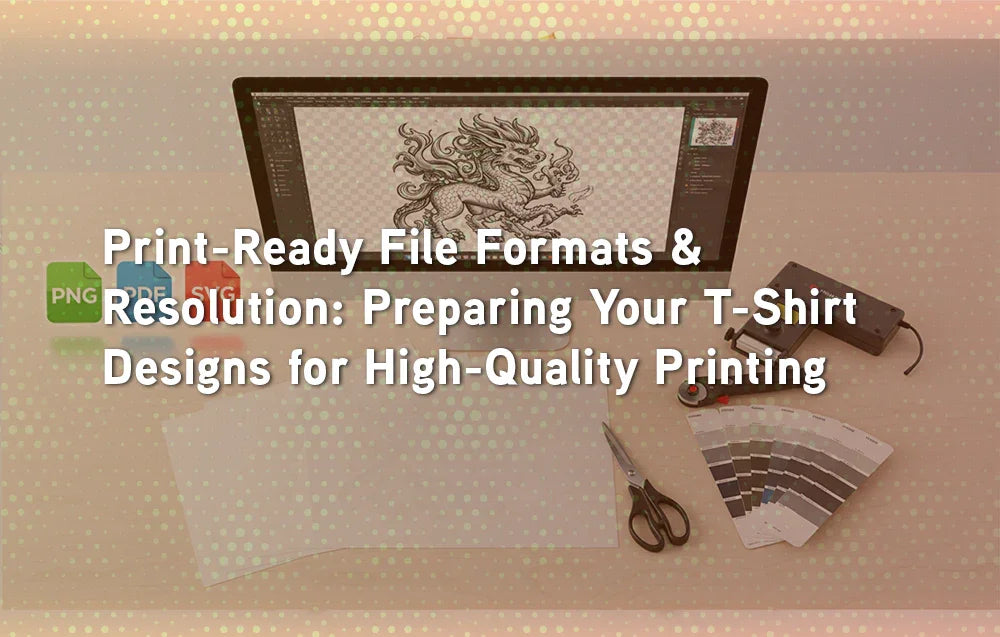
Print-Ready File Formats & Resolution: Preparing Your T-Shirt Designs for High-Quality Printing
Getting your t-shirt designs ready for printing is not just about creativity—it’s about technical precision. Using the correct file formats, resolution, and setup ensures your artwork looks sharp, vibrant, and professional once it’s on fabric. This guide explains the best practices for preparing print-ready t-shirt design files in 2025.
Why Print-Ready Files Matter
A beautiful design can easily lose impact if it’s printed in the wrong format or at a poor resolution. Pixelated text, washed-out colors, or misaligned graphics often come from improper file preparation. Professional print-ready files guarantee:
Crisp, sharp details even at large sizes
Accurate colors that match your design vision
Compatibility with different printing methods like DTF, DTG, and screen printing
Reduced errors and wasted materials during production
The Best File Formats for T-Shirt Printing
Not all print-ready file formats are equal. Some are better for vector graphics, while others work best for photography or high-color artwork.
Commonly Used Formats:
PNG – The go-to format for most t-shirt designs, thanks to its transparent background support and high quality.
SVG – Ideal for vector-based designs; scalable without losing resolution.
TIFF – Often used in professional print workflows for photography and detailed artwork.
PSD/AI – Editable file formats from Photoshop and Illustrator; keep a working version in these, but export to PNG or TIFF for final printing.
JPG – Acceptable for mockups but not recommended for final printing due to compression.
Suggested Visual:
A table comparing PNG, SVG, TIFF, and JPG with pros and cons for t-shirt printing.
Recommended Resolution for T-Shirt Designs
Resolution is critical. Printing at low DPI (dots per inch) leads to blurry, pixelated results.
Key Rule: Always prepare designs at 300 DPI.
72 DPI → acceptable for web previews but not for printing.
150 DPI → sometimes used for large posters, but risky for apparel.
300 DPI → industry standard for sharp, professional prints.
Pro Tip: Start with the right canvas size (usually 12x16 inches) at 300 DPI. Upscaling later won’t fix a low-res design.
Color Modes for Printing
Color settings are just as important as resolution.
RGB (Red, Green, Blue): Best for digital designs and DTF printing, as most POD platforms accept RGB and convert automatically.
CMYK (Cyan, Magenta, Yellow, Black): Essential for screen printing or offset printing, ensuring colors match in physical production.
👉 Just like custom leather keychains need engraving precision, your t-shirt designs need the right color setup to look flawless when printed.

File Setup Checklist Before Printing
Before you send your design to a printer, run through this checklist:
File format is PNG, SVG, or TIFF.
Resolution set to 300 DPI.
Transparent background applied if needed.
Color mode correctly set (RGB for DTF/DTG, CMYK for screen).
Design placed within a 12x16 inch canvas.
Text converted to outlines/vectors (avoids font errors).
Safe zones applied—no critical elements near edges.
How File Format Affects Different Printing Methods
DTF Printing – Works best with PNG at 300 DPI, RGB mode.
DTG Printing – Also favors PNG, but large TIFF files can be accepted.
Screen Printing – Requires vector formats like SVG or AI for clean separations.
Vinyl (HTV) – Simplified vector graphics in SVG are preferred.
Comparison Table Idea:
| Printing Method | Recommended Format | Resolution | Color Mode |
|---|---|---|---|
| DTF | PNG | 300 DPI | RGB |
| DTG | PNG/TIFF | 300 DPI | RGB |
| Screen | SVG/AI | Vector | CMYK |
| HTV | SVG | Vector | RGB |
Common Mistakes Beginners Make
Saving files in JPG with compression artifacts
Designing in 72 DPI and trying to upscale later
Forgetting to remove background, leaving white boxes around logos
Using CMYK when printer requires RGB (or vice versa)
Sending designs without safe margins, causing cut-off text
Avoiding these mistakes ensures your shirts look professional from the first print.
Real-World Example: Why Print-Ready Prep Matters
Imagine designing a bold slogan tee in Canva. If you export as JPG at 150 DPI, the result may look fine on your computer but will print blurry on fabric. Exporting as PNG at 300 DPI with a transparent background ensures the text remains crisp and professional.
👉 Just like Transfer Kingdom’s products, success depends on proper preparation.
Conclusion
Preparing t-shirt design files in the correct print-ready format is just as important as the design itself. PNG, SVG, and TIFF remain the best formats for apparel printing, while 300 DPI resolution ensures sharpness and clarity. Choosing the right color mode and setting up your files with safe margins saves time, money, and frustration.
By following these steps, you can turn your creative ideas into t-shirts that look as good in real life as they do on your screen.
What is the best file format for t-shirt printing?
PNG with transparent background is most commonly used.
Can I print from a JPG file?
It’s not recommended, as JPG compression lowers quality.
What resolution should I use?
Always use 300 DPI for sharp results.
Do I need CMYK or RGB?
RGB for DTF/DTG; CMYK for screen printing.
What size should my canvas be?
12x16 inches is the standard print area for most t-shirts.
Can I use Canva for print-ready files?
Yes, just make sure to export at 300 DPI in PNG format.
Why should text be converted to outlines?
It prevents font errors if the printer doesn’t have your font installed.
Is TIFF better than PNG?
TIFF is excellent for photography, but PNG is easier and widely accepted.
What’s the difference between vector and raster files?
Vectors (SVG, AI) scale without losing quality, while raster images (PNG, JPG) are pixel-based.
Do POD platforms accept PSD or AI files?
Most require PNG uploads, but keep PSD/AI files as editable masters.


Furkan YILMAZ
I’ve been an editor at Transfer Kingdom for the past two years, writing about custom apparel, DTF transfers, and design trends. I enjoy sharing what I’ve learned to help creators turn their ideas into real, wearable designs.