DTF Print Quality Checklist: What to Review Before Ordering
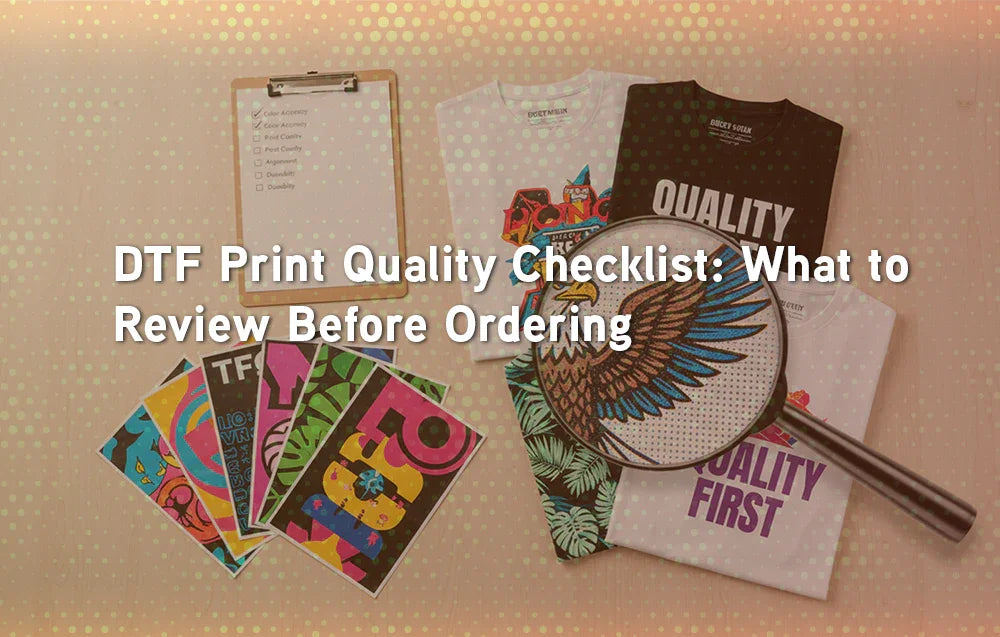
A great design can still look bad on a shirt if the file isn’t prepared correctly. That’s why having a DTF print quality checklist is essential. From file formats to resolution, color settings, and fabric choice—reviewing these details before ordering ensures your custom apparel looks sharp, vibrant, and professional.
Why a DTF Print Quality Checklist Matters
DTF (Direct-to-Film) printing is one of the most versatile methods in custom apparel, but it relies heavily on preparation. Printers can only work with the files you upload, which means any mistake in setup directly affects your results.
By following a print quality checklist, you can:
Avoid blurry or pixelated designs
Ensure color accuracy and vibrancy
Prevent costly reprints or wasted transfers
Deliver consistent quality across all orders
👉 If you’re ready to try it yourself, explore Custom DTF Transfers by Size for simple, high-quality options.
Step 1: File Format
The file format is the foundation of your print.
Best formats for DTF printing:
PNG – Transparent background, high quality.
TIFF – Ideal for detailed artwork or photography.
SVG – Great for vector-based logos or text.
Avoid: JPG (lossy compression, poor for printing).

Step 2: Resolution
Resolution determines clarity.
Always design at 300 DPI for crisp results.
Canvas size should match the print area (e.g., 12x16 inches).
Never upscale a low-res image—quality will not improve.
Step 3: Color Mode
RGB: Best for DTF transfers, ensuring vibrant results.
CMYK: Sometimes used in screen printing, but not necessary for DTF.
👉 Just like choosing the right finish on , your color mode selection makes a huge difference in the final look.
Step 4: Transparency and Background
One of the most common beginner mistakes is leaving a white or colored background in the file.
Checklist for background prep:
Remove backgrounds unless part of the design.
Save with transparency enabled.
Double-check edges for clean cuts.
Step 5: Size and Scaling
Make sure the design matches the intended placement.
Chest logo: 3–4 inches wide
Full front print: 10–12 inches wide
Back design: 12–14 inches wide
Sleeve print: 2–3 inches wide
Pro Tip: Print a paper version at actual size to preview proportions.
Step 6: Safe Zones and Margins
Keep text and important graphics away from the edges of the design area. This prevents cutoffs and maintains clean borders.
Step 7: Fabric Compatibility
Not all fabrics react the same.
Cotton: Works perfectly with DTF.
Polyester blends: Strong, durable results.
Fleece and hoodies: Excellent adhesion, but test for stretch.
👉 For examples, see how DTF Gang Sheet Transfers adapt to multiple apparel types in one sheet.

Step 8: Preview and Proof
Before ordering, preview your file:
Use mockup generators to visualize on shirts.
Zoom in on the file at 100% to check detail.
Share with a friend or client for feedback.
You can also try our free, easy-to-use gang sheet creation tool !
DTF Print Quality Checklist Summary
Here’s the complete checklist you should review before submitting:
File format is PNG, TIFF, or SVG.
Resolution set to 300 DPI.
Canvas size matches intended print area.
RGB color mode selected.
Transparent background applied.
Correct scaling for chest, back, or sleeve.
Safe zones left clear.
Fabric compatibility considered.
Final preview and mockup reviewed.
💡 Suggested Visual: A printable one-page DTF checklist graphic with all points summarized.
Common Mistakes to Avoid
Uploading JPG files with compression artifacts
Designing in 72 DPI and expecting sharp results
Forgetting to remove the background
Incorrect scaling (tiny logos or oversized prints)
Ignoring safe zones, causing cut-off text
Conclusion
DTF transfers provide endless design freedom, but preparation makes the difference between average and professional results. By using this print quality checklist, you’ll ensure every design prints with sharp lines, accurate colors, and strong durability. Careless mistakes like uploading low-resolution images or forgetting to remove backgrounds can easily ruin an otherwise great design, which is why reviewing each step is so important.
In 2025, whether you’re making a single shirt for personal use, a limited drop for friends, or ordering in bulk for your brand, carefully checking your files before submitting guarantees your apparel stands out. A few extra minutes spent on preparation can save you wasted transfers, money, and disappointment while making sure your custom t-shirts look every bit as professional as store-bought apparel.
What’s the best file format for DTF?
PNG with transparency is the most common and reliable.
Do I need 300 DPI for DTF transfers?
Yes, 300 DPI is the standard for sharp results.
Can I print from JPG files?
It’s not recommended due to compression and loss of quality.
Should I design in RGB or CMYK?
RGB is better for DTF printing.
How do I check scaling?
Print a test on paper at actual size.
Does fabric type affect print quality?
Yes, cotton, blends, and hoodies all behave differently.
Do I need to remove backgrounds?
Yes, unless the background is part of the design.
What’s a safe zone in printing?
An area away from edges to prevent cutoffs.
Can I mix multiple designs in one order?
Yes, especially with gang sheets.
What’s the most common beginner mistake?
Uploading low-res or incorrectly formatted files.
