How to Apply DTF Transfers Like a Pro: Pro Tips for Long-Lasting, Vibrant DTF Prints

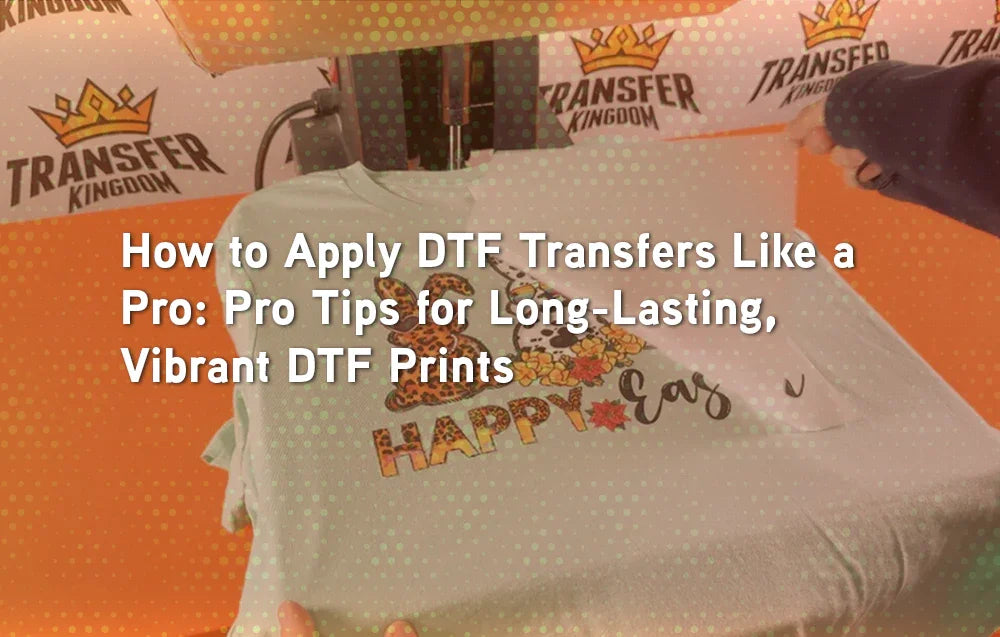
DTF transfers give you endless creative options, but their success depends on correct application. With the right heat press settings, peeling technique, and fabric-specific adjustments, you can achieve professional-quality results that last through dozens of washes. This guide breaks down step-by-step instructions, pro tips, and common mistakes to help you apply DTF transfers like a true professional.
A Quick Story Before We Start
Imagine this: you’ve designed a bold graphic for a t-shirt, uploaded it to your gang sheet, and waited excitedly for your transfers to arrive. The design is perfect. But when you press it, the edges lift, the colors look faded, and the print cracks after one wash.
That’s not a design problem—it’s an application mistake.
Applying DTF transfers correctly is the difference between a shirt that lasts a season and one that lasts for years. In this guide, you’ll learn how to apply DTF transfers like a pro, using expert settings, peel techniques, and fabric-specific tips.
Why Application Matters as Much as Design
DTF printing gives you unlimited colors, gradients, and fabric flexibility. But without proper application:
Prints peel after a few washes.
Colors look dull instead of vibrant.
Fabrics scorch or wrinkle under the press.
Customers lose trust in your product.
👉 Always start with pro-quality materials like Custom DTF Transfers by Size and combine them with the right application method.

Step 1: Prep the Garment
Before pressing, prepare the shirt, hoodie, or fabric:
Wash once to remove factory coatings.
Pre-press for 3–5 seconds to remove wrinkles and moisture.
Use a lint roller to eliminate fibers and dust.
📌 Quick Recap: A clean, dry, flat garment ensures maximum adhesion.
Step 2: Position and Align the Transfer
Place the transfer face down (design on fabric).
Align using a T-shirt ruler or tape for accuracy.
Secure with heat-resistant tape if needed.
👉 If you’re running multiple designs, save time with Custom Gang Sheet Builder.
💡 Pro Tip: Center chest prints usually sit 3–4 inches below the collar.
Step 3: Heat Press Settings – The Pro’s Cheat Sheet
Correct heat press settings make or break your print.
| Fabric Type | Temp (°F) | Time (sec) | Pressure | Notes |
|---|---|---|---|---|
| Cotton | 310–320 | 12–15 | Medium-Firm | Bright, durable results |
| Polyester | 280–300 | 8–12 | Medium | Prevents scorching, dye migration |
| Cotton-Poly Blend | 300 | 10–12 | Medium | Balanced performance |
| Fleece/Hoodies | 300–310 | 12–15 | Firm | Test first; fleece may flatten |
| Nylon/Performance | 280–290 | 8–10 | Light-Med | Use heat press pillow |
📌 Quick Recap: Cotton can handle heat; polyester needs lower temps.
Step 4: Peel with Precision
Hot Peel: Immediate peel = glossy finish.
Warm Peel: Wait 5–10 sec = balanced adhesion.
Cold Peel: Fully cooled = matte, premium finish.
💡 Pro Tip: If corners lift, re-cover with parchment paper and press again for 3–5 seconds.
Step 5: Post-Press for Longevity
Seal the deal with a post-press:
Cover design with parchment/Teflon.
apply DTF Transfers for 2–5 seconds.
Increases wash resistance and prevents lifting.
👉 This is especially useful for merch, uniforms, and sportswear.
Specialty Transfers: Extra Care Needed
Not all transfers press the same. Specialty films require slight adjustments:
Glitter DTF → 315–325°F, firm pressure → Glitter Transfers by Size
Puff DTF → 15–20 seconds to expand fully
Metallic DTF → Lower temps to maintain shine
UV DTF → Even pressure → UV Cup Wrap Stickers
Common Mistakes Beginners Make
🚫 Skipping pre-press → moisture ruins adhesion
🚫 Low-res files → blurry, pixelated prints
🚫 Too little pressure → edges peel after washing
🚫 Overheating polyester → shiny scorch marks
🚫 Forgetting post-press → durability cut in half
👉 To avoid costly errors, test first using Premade Gang Sheets.
Pro Tips for Long-Lasting Prints
Batch Test First – Always try 1 shirt before 100.
Check Press Accuracy – Use a heat gun to confirm temp.
Educate Buyers – Wash inside out, cold water.
Avoid Fabric Softener – Breaks adhesive bonds.
Store Transfers Correctly – Flat, dry, away from sunlight.
👉 Upload your files with ease using our DTF Gang Sheet Uploader.

Case Study: Houston Merch Order
For a local Houston event, a brand needed 300 polyester jerseys in 3 days. Using gang sheets, they arranged all logos efficiently. By pressing at 290°F for 10 seconds with medium pressure, the jerseys came out vibrant and durable.
Result: Happy clients, zero reprints.
💡 Lesson: Success wasn’t just about design—it was professional application.
Conclusion
DTF transfers are powerful, but application makes all the difference. From prepping garments to dialing in heat press settings, every step affects the final look and longevity. Whether you’re pressing cotton tees, polyester jerseys, or glitter specialty designs, applying transfers like a pro ensures your shirts stand out and last wash after wash.
👇 Ready to press with confidence?
What’s the best temp for cotton shirts?
310–320°F for 12–15 seconds.
Do I need to pre-press garments?
Yes, to remove wrinkles and moisture.
Can I use an iron?
No, heat press consistency is key.
Should I peel hot or cold?
Follow film type instructions.
How do I prevent dye migration on polyester?
Lower temps: 280–290°F.
Can I layer DTF prints?
Yes, but post-press between layers.
How many washes do DTF prints last?
Dozens if applied correctly.
How do I fix edges lifting?
Repress with parchment for 3–5 seconds.
Can I mix specialty films on a gang sheet?
Yes, but follow correct press settings.
Where can I buy pro-quality transfers?
At Transfer Kingdom: DTF Transfers Ready-to-Press.


