DTF Transfer Heat Press Settings & Application Techniques for Different Fabrics
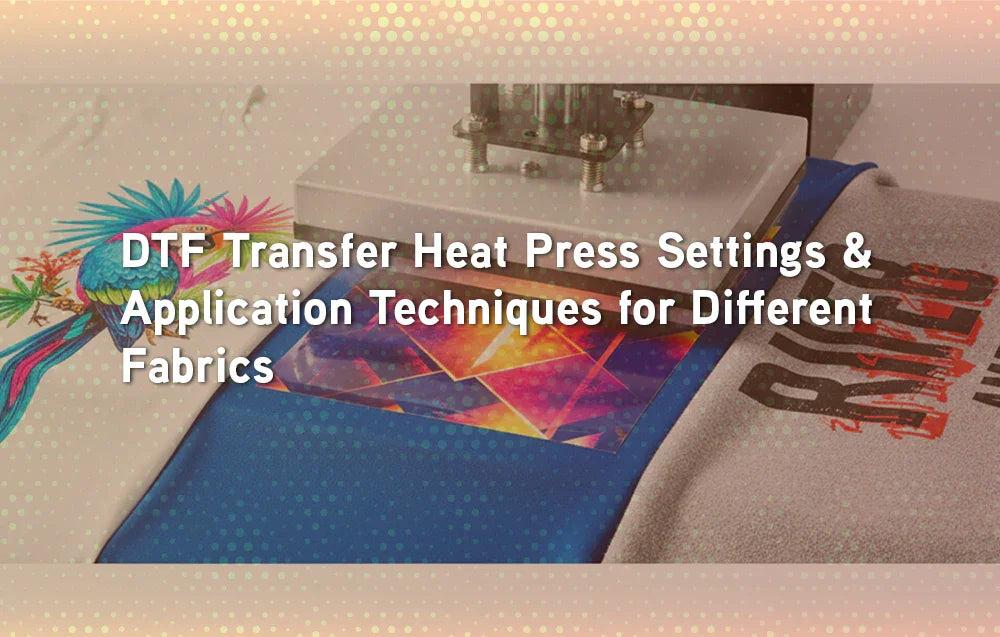
Even the best-designed DTF transfer won’t look professional if it’s applied incorrectly. Heat press settings—temperature, pressure, and time—are just as important as the design itself. Different fabrics require slightly different techniques, and knowing these details ensures your prints last through wash after wash. This guide covers the essential DTF heat press settings and application methods for cotton, polyester, blends, fleece, and more.
Why Heat Press Settings Matter
A heat press bonds the DTF transfer’s adhesive powder to the fibers of the garment. If the press is too hot, it can scorch the fabric; too cold, and the transfer won’t stick properly. Correct time and pressure guarantee:
Sharp, vibrant prints
Strong adhesion for durability
Fabric-safe results without damage
Consistency across multiple garments
👉 Start with Custom DTF Transfers by Size and apply them correctly using the settings below.
General DTF Heat Press Guidelines
Most DTF transfers apply at:
Temperature: 300–320°F (149–160°C)
Time: 10–15 seconds
Pressure: Medium to firm (40–60 PSI depending on press)
Peel Method: Hot, warm, or cold depending on transfer film type
💡 Always check your supplier’s instructions, as specialty films like glitter or puff may require unique settings and extra caution.
DTF Heat Press Settings by Fabric
Cotton
Temp: 310–320°F
Time: 12–15 seconds
Pressure: Medium to firm
Notes: Cotton holds DTF well; produces bright, durable prints.
Polyester
Temp: 280–300°F (to avoid scorching)
Time: 8–12 seconds
Pressure: Medium
Notes: Lower heat prevents dye migration and fabric shine. Perfect for sportswear.

Cotton-Poly Blends
Temp: 300°F
Time: 10–12 seconds
Pressure: Medium
Notes: Balance between cotton durability and polyester sensitivity.
Fleece & Hoodies
Temp: 300–310°F
Time: 12–15 seconds
Pressure: Firm
Notes: Test a small area first—fleece can flatten under high pressure.
Nylon & Performance Fabrics
Temp: 280–290°F
Time: 8–10 seconds
Pressure: Light to medium
Notes: Use lower pressure and consider a heat press pillow for uneven surfaces.
Comparison Table: Heat Press Settings by Fabric
| Fabric Type | Temperature (°F) | Time (sec) | Pressure | Notes |
|---|---|---|---|---|
| Cotton | 310–320 | 12–15 | Medium/Firm | Vibrant, durable prints |
| Polyester | 280–300 | 8–12 | Medium | Prevents scorching, ideal for sportswear |
| Cotton-Poly Blend | ~300 | 10–12 | Medium | Balanced performance |
| Fleece/Hoodies | 300–310 | 12–15 | Firm | Test first; fleece may flatten |
| Nylon/Performance | 280–290 | 8–10 | Light/Med | Use heat pillow for best adhesion |
💡 Suggested Visual: Infographic chart with fabric types, temps, and times.
Application Techniques for Perfect Results
Pre-press the garment (3–5 seconds) to remove moisture and wrinkles.
Position the transfer in the correct area using heat-resistant tape if needed.
Apply heat press settings according to fabric type.
Peel film (hot, warm, or cold depending on transfer).
Post-press (optional): Light 2–3 second press with parchment paper for extra durability.
👉 Try these methods with Custom Gang Sheet Transfers to apply multiple designs efficiently.
Specialty Transfers: Adjusting Settings
Specialty finishes often need slight adjustments:
Glitter DTF: Slightly higher temp (315–325°F), firm pressure.
Puff DTF: Longer press time (15–20 sec) for raised effect.
Metallic/Holographic: Test lower temps to avoid dulling shine.
Glow-in-the-dark: Standard settings, but ensure even pressure for best glow.
👉 Browse our Custom Glitter DTF for unique finishes and shiny look.
Common Mistakes to Avoid
Too much heat: Scorches polyester, fades colors.
Too little pressure: Causes corners to lift after washing.
Skipping pre-press: Moisture can prevent adhesion.
Peeling too early/late: Follow peel instructions carefully.
Not testing on new fabrics: Always test before full production.

Conclusion
DTF transfers are only as good as their application. Mastering heat press settings for different fabrics ensures your designs look sharp, vibrant, and professional. Whether you’re pressing cotton tees, polyester jerseys, or specialty hoodies, the right temperature, pressure, and timing will keep your prints looking fresh wash after wash.
Think of heat pressing as the final step that brings your hard work to life. A perfectly prepared file can still fail if pressed incorrectly, while the right technique guarantees long-lasting results that customers will appreciate. With consistent application, your shirts won’t just look great on day one—they’ll maintain their color, detail, and adhesion even after dozens of washes. From small runs for personal use to bulk orders for businesses, learning these techniques sets you apart and ensures every project meets professional standards.
👇Ready to try it yourself?
What’s the ideal temp for cotton shirts?
310–320°F for 12–15 seconds.
Can I use the same settings for polyester?
No, polyester requires lower heat (280–300°F).
Do I need to pre-press garments?
Yes, it removes moisture and ensures better adhesion.
What happens if I use too much pressure?
It can flatten fabrics like fleece or distort puff designs.
Can I use an iron instead of a heat press?
You can but not recommended—irons don’t give consistent heat/pressure.
Are specialty transfers harder to apply?
They require slight adjustments but are beginner-friendly.
Should I peel hot or cold?
Depends on film type—hot peel for speed, cold peel for matte finish.
How do I prevent lifting after washing?
Use correct pressure and consider a post-press for extra durability.
Can I use DTF transfers on nylon jackets?
Yes, but use lower temps and a heat press pillow.
Where can I buy high-quality DTF transfers?
At Transfer Kingdom, through our DTF Transfers Collection.


Furkan YILMAZ
I’ve been an editor at Transfer Kingdom for the past two years, writing about custom apparel, DTF transfers, and design trends. I enjoy sharing what I’ve learned to help creators turn their ideas into real, wearable designs.